The floating technique is a wonderful way to create eye-catching handmade cards using scraps of patterned paper. It’s a technique I’ve used several times over the years, including during my time as a Stampin’ Up! Artisan Designer, and it’s one that always creates a striking effect.
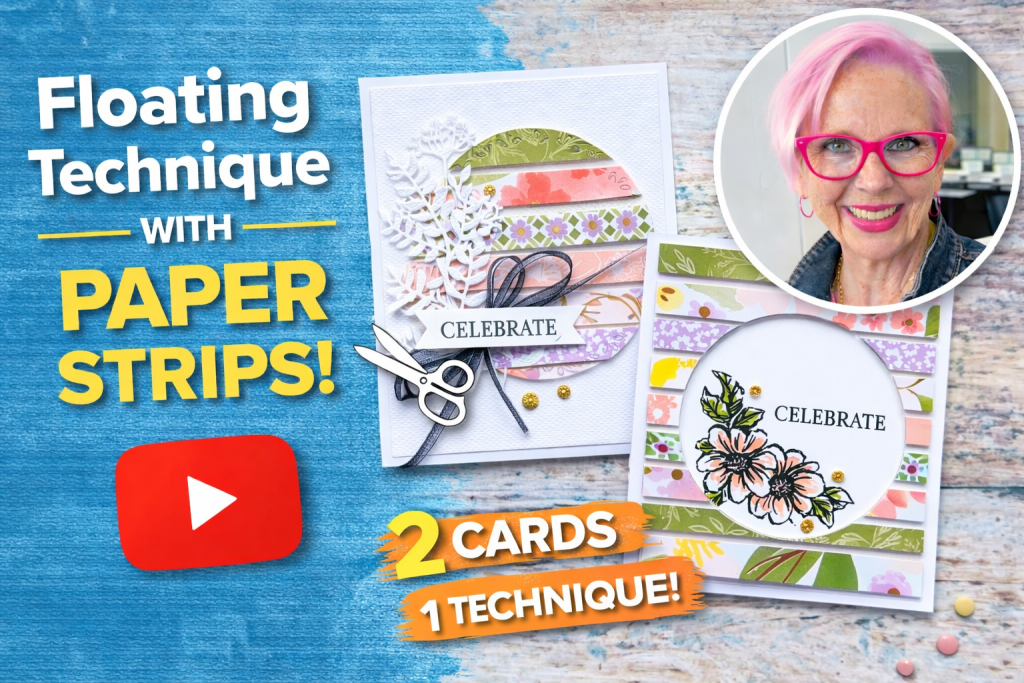
Today I’m sharing two cards made using the Floating Technique, and the best part is that you can create multiple cards from one piece of work!
Unfortunately I wasn’t able to go live this week as I am attending the Stampin’ Up! OnStage demonstrator conference in Sydney. It’s always such a fantastic event where demonstrators get together, share ideas, see new products and enjoy spending time with friends we often only chat with online. It’s definitely one of the highlights of the year!
So instead, I pre-recorded this project to share a fun technique you can try at home.
What is the Floating Technique?
The Floating Technique creates the illusion that pieces of patterned paper are floating on your card. This is done by attaching strips of designer paper to a window sheet, then raising it up with dimensionals so the design appears suspended above the card front.
It’s a fantastic way to:
- Use up scraps of Designer Series Paper
- Create unique backgrounds
- Get multiple cards from one design
You can use strips like I have here, but shapes work just as well — circles, squares or even die cuts.
Creating the Floating Panel
To start, I attached strips of Designer Series Paper to a piece of window sheet using Tear & Tape. I used a mix of patterns from the Lovely & Beautiful Designer Series Paper so the colours and florals complement each other.
The strips were approximately ¾ inch wide, but you can vary the widths for a different look.
A helpful tip is to place the window sheet on grid paper while working. This makes it much easier to keep your strips straight (which I definitely need help with!).
Leave a tiny gap between each strip — this helps create that floating illusion once the panel is raised on dimensionals.
Creating Two Cards from One Piece
Once the strips were attached, I used the Spotlight on Nature Dies to cut a circle from the centre of the panel.
This gives you two pieces to work with:
- The floating strip circle
- The negative frame piece
Both can be turned into beautiful cards.
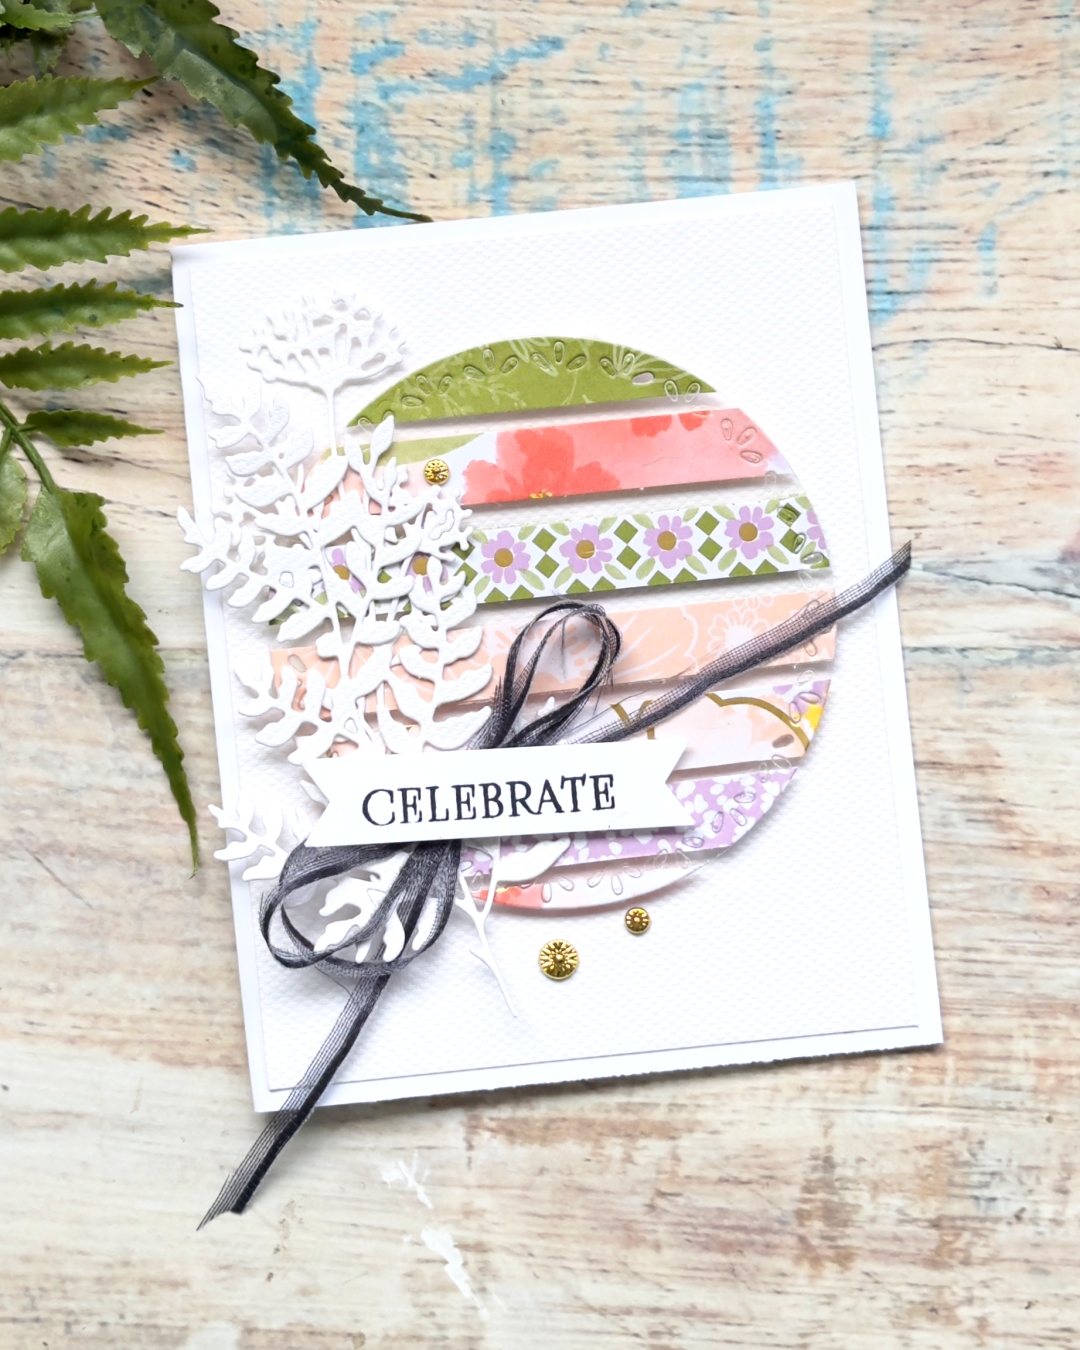
Card One – Floating Circle Card
For the first card, the floating circle becomes the focal point.
I added:
- A textured white card front with Whispers of Texture
- Die cut foliage from the Beautiful Motifs Dies
- A sentiment stamped using the Beautiful Motives stamp set
- A bow made from Secret Sea Mesh Ribbon
- Gold Flower Accents to add a little shine
The floating circle is attached with dimensionals, which creates that lovely lifted effect.
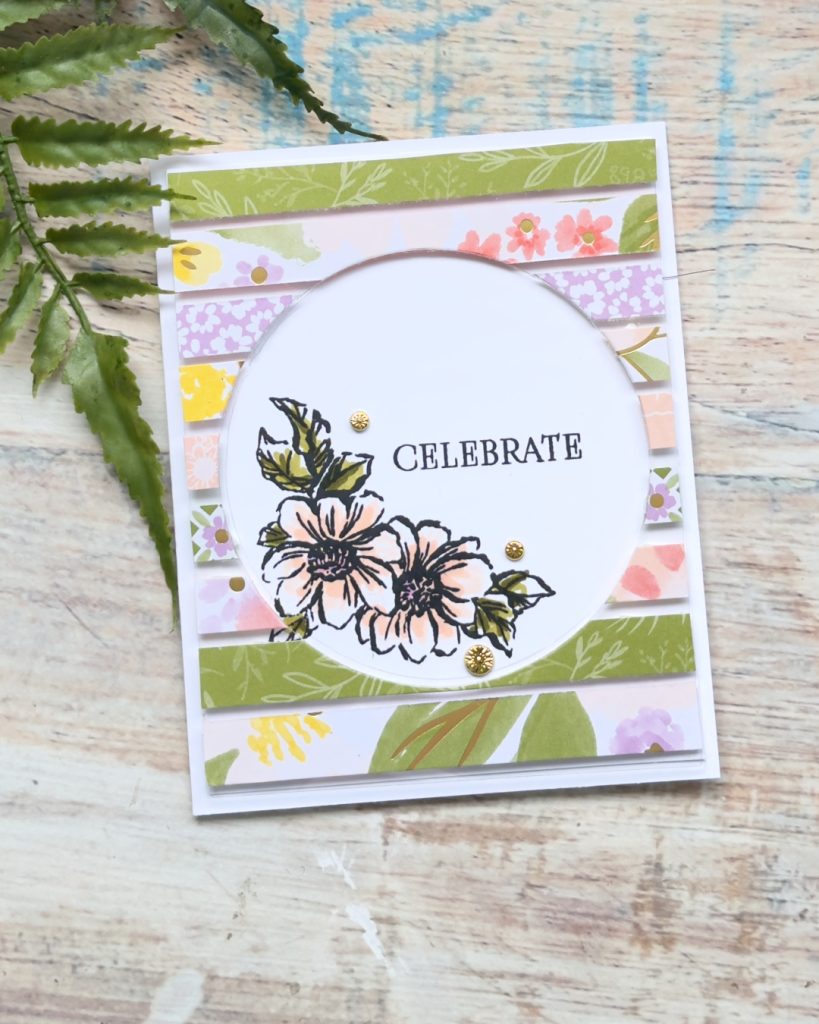
Card Two – Simple Floral Design
For the second card I used the negative circle frame left over from the die cut.
To keep the design clean and simple, I stamped beautiful flowers from the Gallery Blooms stamp set inside the circle and coloured them softly.
The patterned paper strips create a lovely border around the focal image without overpowering the design.
Even More Floating Technique Ideas
This technique has so many possibilities.
In the past, I created a larger window sheet panel filled with strips and then cut it in different ways to create three completely different cards:
- A standard floating strip design
- A design showing the clear window sheet edges
- A card where the strips were cut into diamond shapes
It’s such a versatile technique and a fantastic way to stretch your supplies.
Give the Floating Technique a Try
If you have leftover patterned paper scraps, this is the perfect project to try. The floating effect adds depth and interest, and you can easily create multiple cards from one design.
I hope these projects inspire you to experiment with the Floating Technique in your own cardmaking.
Video Sharing Floating Technique Cards with Designer Paper (click on photo below)
or HERE
Related Posts to Floating Technique Cards with Designer Paper
3 ways to use your Scrap Paper with 1 Technique
Stay creative and happy crafting!
Want to receive regular tips and inspiration don’t miss out and sign up to get my newsletter delivered to your inbox!
Newsletter
Live in New Zealand? if yes and would you like to purchase any of the items shown if you click on each photo it will take you to a list. For the Bundle click below to purchase.

Would like to receive 20% discount on all your purchases? Whether as a hobbyist ,personal use, sharing with friends or to start up a business this maybe just right for you!
Interested and want more information? Click on my TEAM PAGE to learn more.
Thanks so much for stopping by I hope you enjoyed this post. I would love you to leave a comment.
Happy Crafting


please could you send me your floating card tutorial?
many thanks
Hi I have put a lot of information in this post including the video if ypi would like a PDF I am more than happy to do one. It would be NZD8.00. let me know if you would like me to do itThanks 🙂
Beautiful cards and fun technique!! Thank you so much for sharing!!
my pleasure I am so glad you liked it x
looks like a fun technique. looking forward to it.
it is fun and so exciting you are going to give it a go 🙂 x
merci
my pleasure x
floating object tutorial is so cool. Thanks
so glad you liked it x
look forward to the tutorial.
I will let you know if I do a PDF thank you x
A brilliant technique which makes a variety of stunning cards
At lady I know how to perform this tecnique
Thank you Karen 🩷
so pleased you like it I hope you have fun giving it a go x