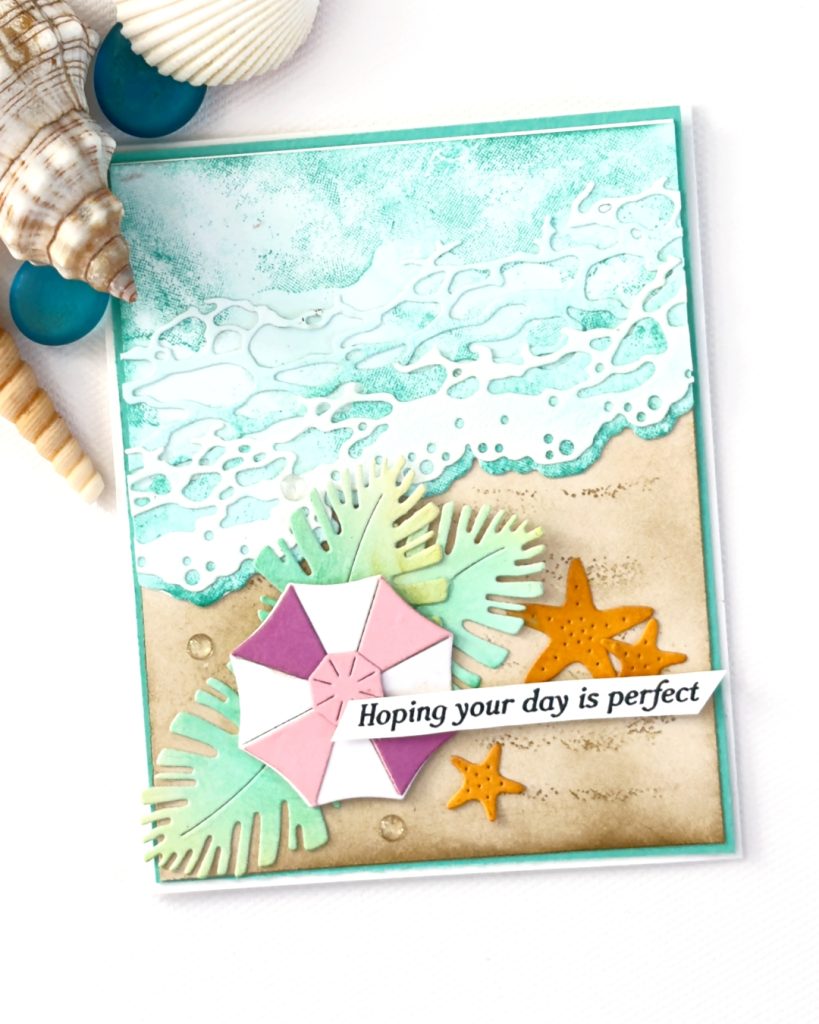
There’s something about beach-inspired cards that instantly makes you feel relaxed… and this one is no exception! Today I’m sharing how I created this soft, coastal card using the Rolling Waves Bundle along with the gorgeous 2024–2026 In Colours (before they retire!).
After recently returning from OnStage (what an amazing trip!), I was feeling inspired to dive straight back into crafting—and this project was the perfect way to do it.
🌊 Card Inspiration
Living in New Zealand, we’re never far from the ocean, so creating coastal-themed cards always feels very natural to me. This design combines:
- Soft ink blending
- Textured stamping
- Die-cut layering
to create a peaceful beach scene complete with waves, sand, and a sweet little umbrella.
🎨 Products & Colours Used
For this project, I focused on the retiring In Colors (2024–2026):
💡 Tip: If you love these colours, now’s the time to grab ink refills to extend the life of your pads!
✂️ How This Card Comes Together
1. Create the Ocean Background
Start with Basic White cardstock and blend Summer Splash ink using a blending brush.
To add texture, use the stamps from the Rolling Waves set:
- Stamp off first for a softer effect
- Build layers gradually for a natural water look
This creates that soft, foamy ocean feel without harsh lines.
2. Add Texture with Stamping
Using the same ink, pick up leftover colour and stamp randomly across your panel.
This technique adds subtle variation and keeps the background from looking flat.
3. Die Cut & Enhance the Waves
Die cut your wave elements and step it up by:
- Applying White Craft Ink
- Adding clear embossing powder
- Heat setting for a glossy, water-like shine
✨ This gives the waves that beautiful “wet” ocean effect!
4. Create the Sandy Shore
Blend Crumb Cake ink along the bottom of your card to mimic sand.
Add extra texture using a small stamp—this creates natural variation and depth.
5. Build Your Focal Elements
Using blended cardstock, die cut:
- Tropical leaves (Shy Shamrock + Peach Pie accents)
- Starfish elements
- Umbrella pieces (Pretty in Pink & Petunia Pop layered together)
💡 Tip: When blending for die cutting, don’t worry about perfection—the variation actually enhances the final look!
6. Assemble Your Card
Layer everything together:
- Adhere your waves and sand layers
- Tuck in leaves and embellishments
- Add your umbrella focal point with dimensionals
- Finish with a sentiment: “Hoping your day is perfect”
7. Finishing Touches
Add clear embellishments (like resin dots) to mimic water droplets and bring a little sparkle to your design.
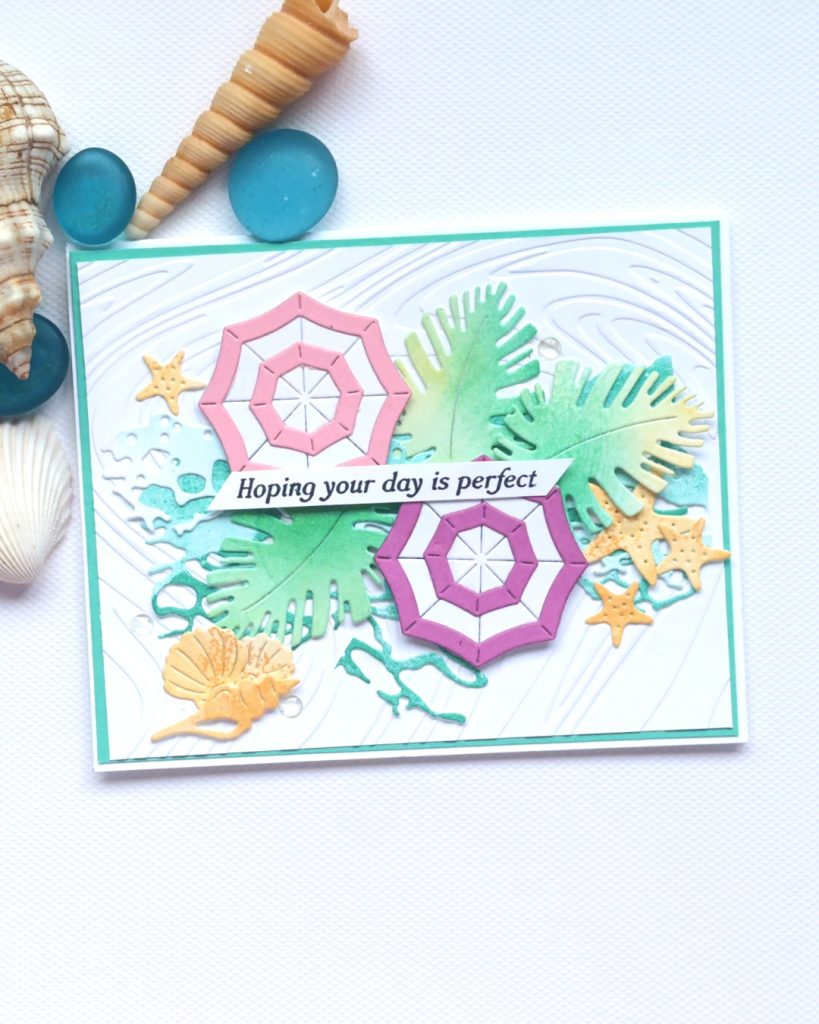
For a lighter, more playful take on a beach-themed card, I also created this design using the Rolling Waves Bundle and simple blending techniques for cardmaking. The crisp white embossed background adds subtle texture, while softly blended tropical leaves and die-cut ocean elements create depth and movement. The layered umbrellas in Pretty in Pink and Petunia Pop add a bright focal point, complemented by Peach Pie starfish and shells. This card is a great example of how changing your background can give your Stampin’ Up! beach card designs a fresh and completely different look.
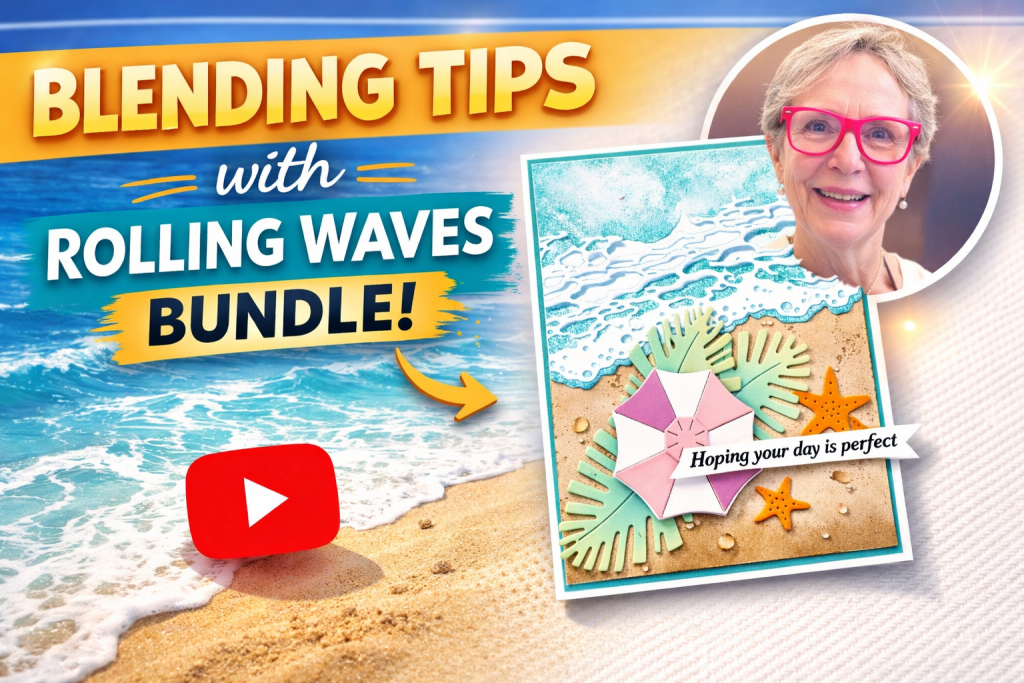
Here is a link to a quick video on how I created this card.
Beachy Vibes
Video Sharing Blending Techniques with the Rolling Waves Bundle – A Beachy Card Tutorial (click on photo below)
or HERE
✂️ Step-by-Step Instructions
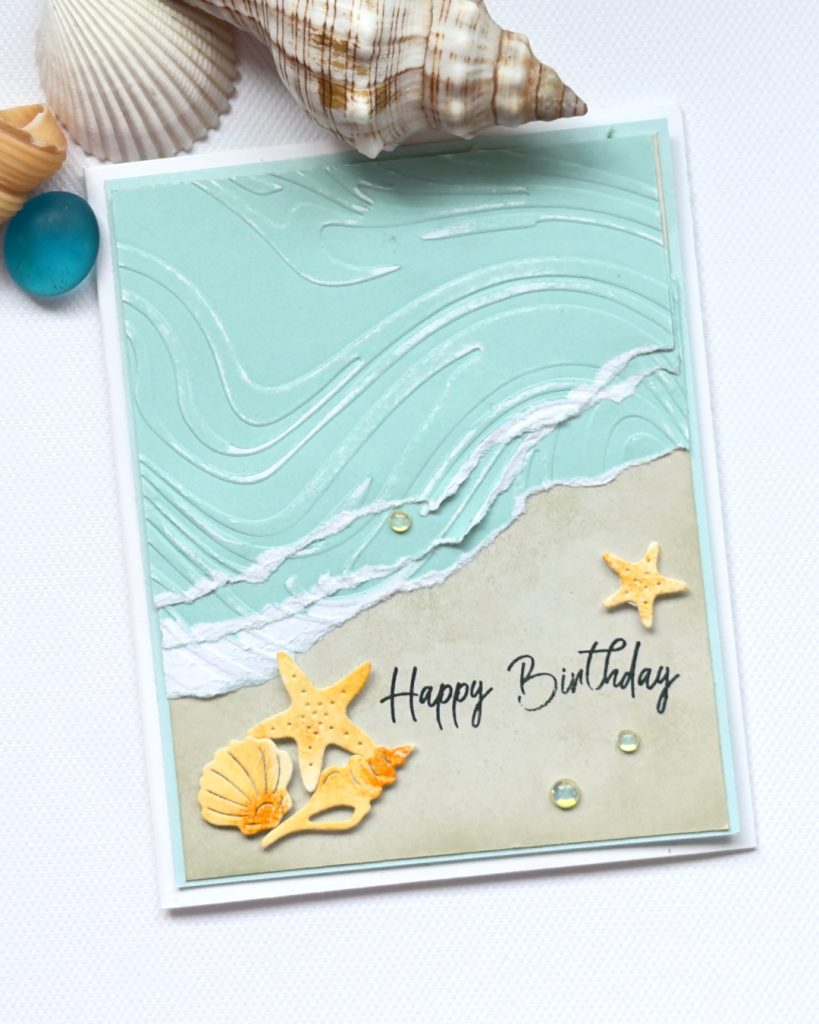
- Start with a standard Basic White card base and adhere a Two-Tone Pool Party mat.
- Cut a Basic Beige layer (1/8″ smaller on all sides). Using the large textured stamp and Basic Beige ink, stamp off and randomly add texture to the lower half.
- Stamp the sentiment “Happy Birthday” in Secret Sea ink on the lower right-hand side.
- Take another piece of Two-Tone Pool Party cardstock (also 1/8″ smaller than the Basic Beige layer) and emboss it using the Swirl Embossing Folder.
- Lightly sand the embossed panel to reveal the white core and enhance the texture.
- Tear the embossed panel towards you (this creates the white edge) twice at a slight angle—higher on the right. Adhere both torn pieces along the bottom, keeping the angled look.
- Adhere this layered piece onto the Basic Beige mat.
- On a scrap of Basic White cardstock, blend Pumpkin Pie ink, then use a blending brush to gently “pounce” over the area to add extra texture.
- Die cut the shell elements from this piece and adhere them as shown.
- Finish with a few holographic gems for added sparkle.
here is a Link to a short video on How I created this card
Quick and easy
💡 Top Tips for This Beach Card
- Tear towards you for texture: Tearing the cardstock towards you reveals the white core, giving that perfect foamy wave effect.
- Don’t skip the sanding: Lightly sanding the embossed panel really enhances the swirl texture and adds a realistic ocean feel.
- Stamp off for subtle texture: When using tone-on-tone stamping (like Basic Beige on Basic Beige), stamping off first keeps the look soft and natural.
- Use “pouncing” for added depth: Gently pouncing with a blending brush creates a speckled, sandy texture—perfect for shells and coastal elements.
- Angle your layers: Slightly angling the torn pieces (higher on one side) adds movement and mimics the natural flow of waves.
- Mix dimension and flat layers: Keep your base layers flat and pop up small elements if desired to create interest without bulk.
Related Posts to Blending Techniques with the Rolling Waves Bundle – A Beachy Card Tutorial
3 ways to use your Scrap Paper with 1 Technique
Stay creative and happy crafting!
Want to receive regular tips and inspiration don’t miss out and sign up to get my newsletter delivered to your inbox!
Newsletter
Live in New Zealand? if yes and would you like to purchase any of the items shown if you click on each photo it will take you to a list. For the Bundle click below to purchase.

Would like to receive 20% discount on all your purchases? Whether as a hobbyist ,personal use, sharing with friends or to start up a business this maybe just right for you!
Interested and want more information? Click on my TEAM PAGE to learn more.
Thanks so much for stopping by I hope you enjoyed this post. I would love you to leave a comment.
Happy Crafting


Absolutely beautiful! Thanks for sharing these great cards!
Thank you I am so pleased you like them x
Beautiful card ! May I have the instructions please for the rolling waves beach card.
Hy Cynthia if you look towards the bottom of the post you will find them there
Cheers
Karen
love to learn how you did the waves!
there is a video on the post that shres how I created them 🙂 x
love your work
oh that is so kind thank you so much x
I live near Lake Michigan. This is perfect.
so glad you can relate to it 🙂 x