A Cute Slimline Card with Sheep Personality 🐑
Today in this Woolly Friends Card Tutorial I’m sharing one of the cutest bundles I’ve played with in a while: Woolly Friends. And honestly, as a New Zealander, how could I not love a sheep-themed set? We’ve got more sheep than people here , so this bundle was always going to be a winner for me.The Woolly Friends bundle includes stamps and a coordinating punch, which makes it quick, easy, and fun to use Woolly Friends Fun- especially if you love projects that come together without a lot of fuss.
A Handy Punch Tip You’ll Love ✂️
If you’ve ever struggled lining up stamped images with punches, this little trick is a game changer.
Instead of stamping first, punch the shape out of your cardstock first. Then:
- Place the stamps face down inside the punched opening
- Add your acrylic block on top
- Ink and stamp
You’ll get perfect placement every single time, with less wasted cardstock. I recently shared this tip in a reel as well, and it’s one I use all the time.
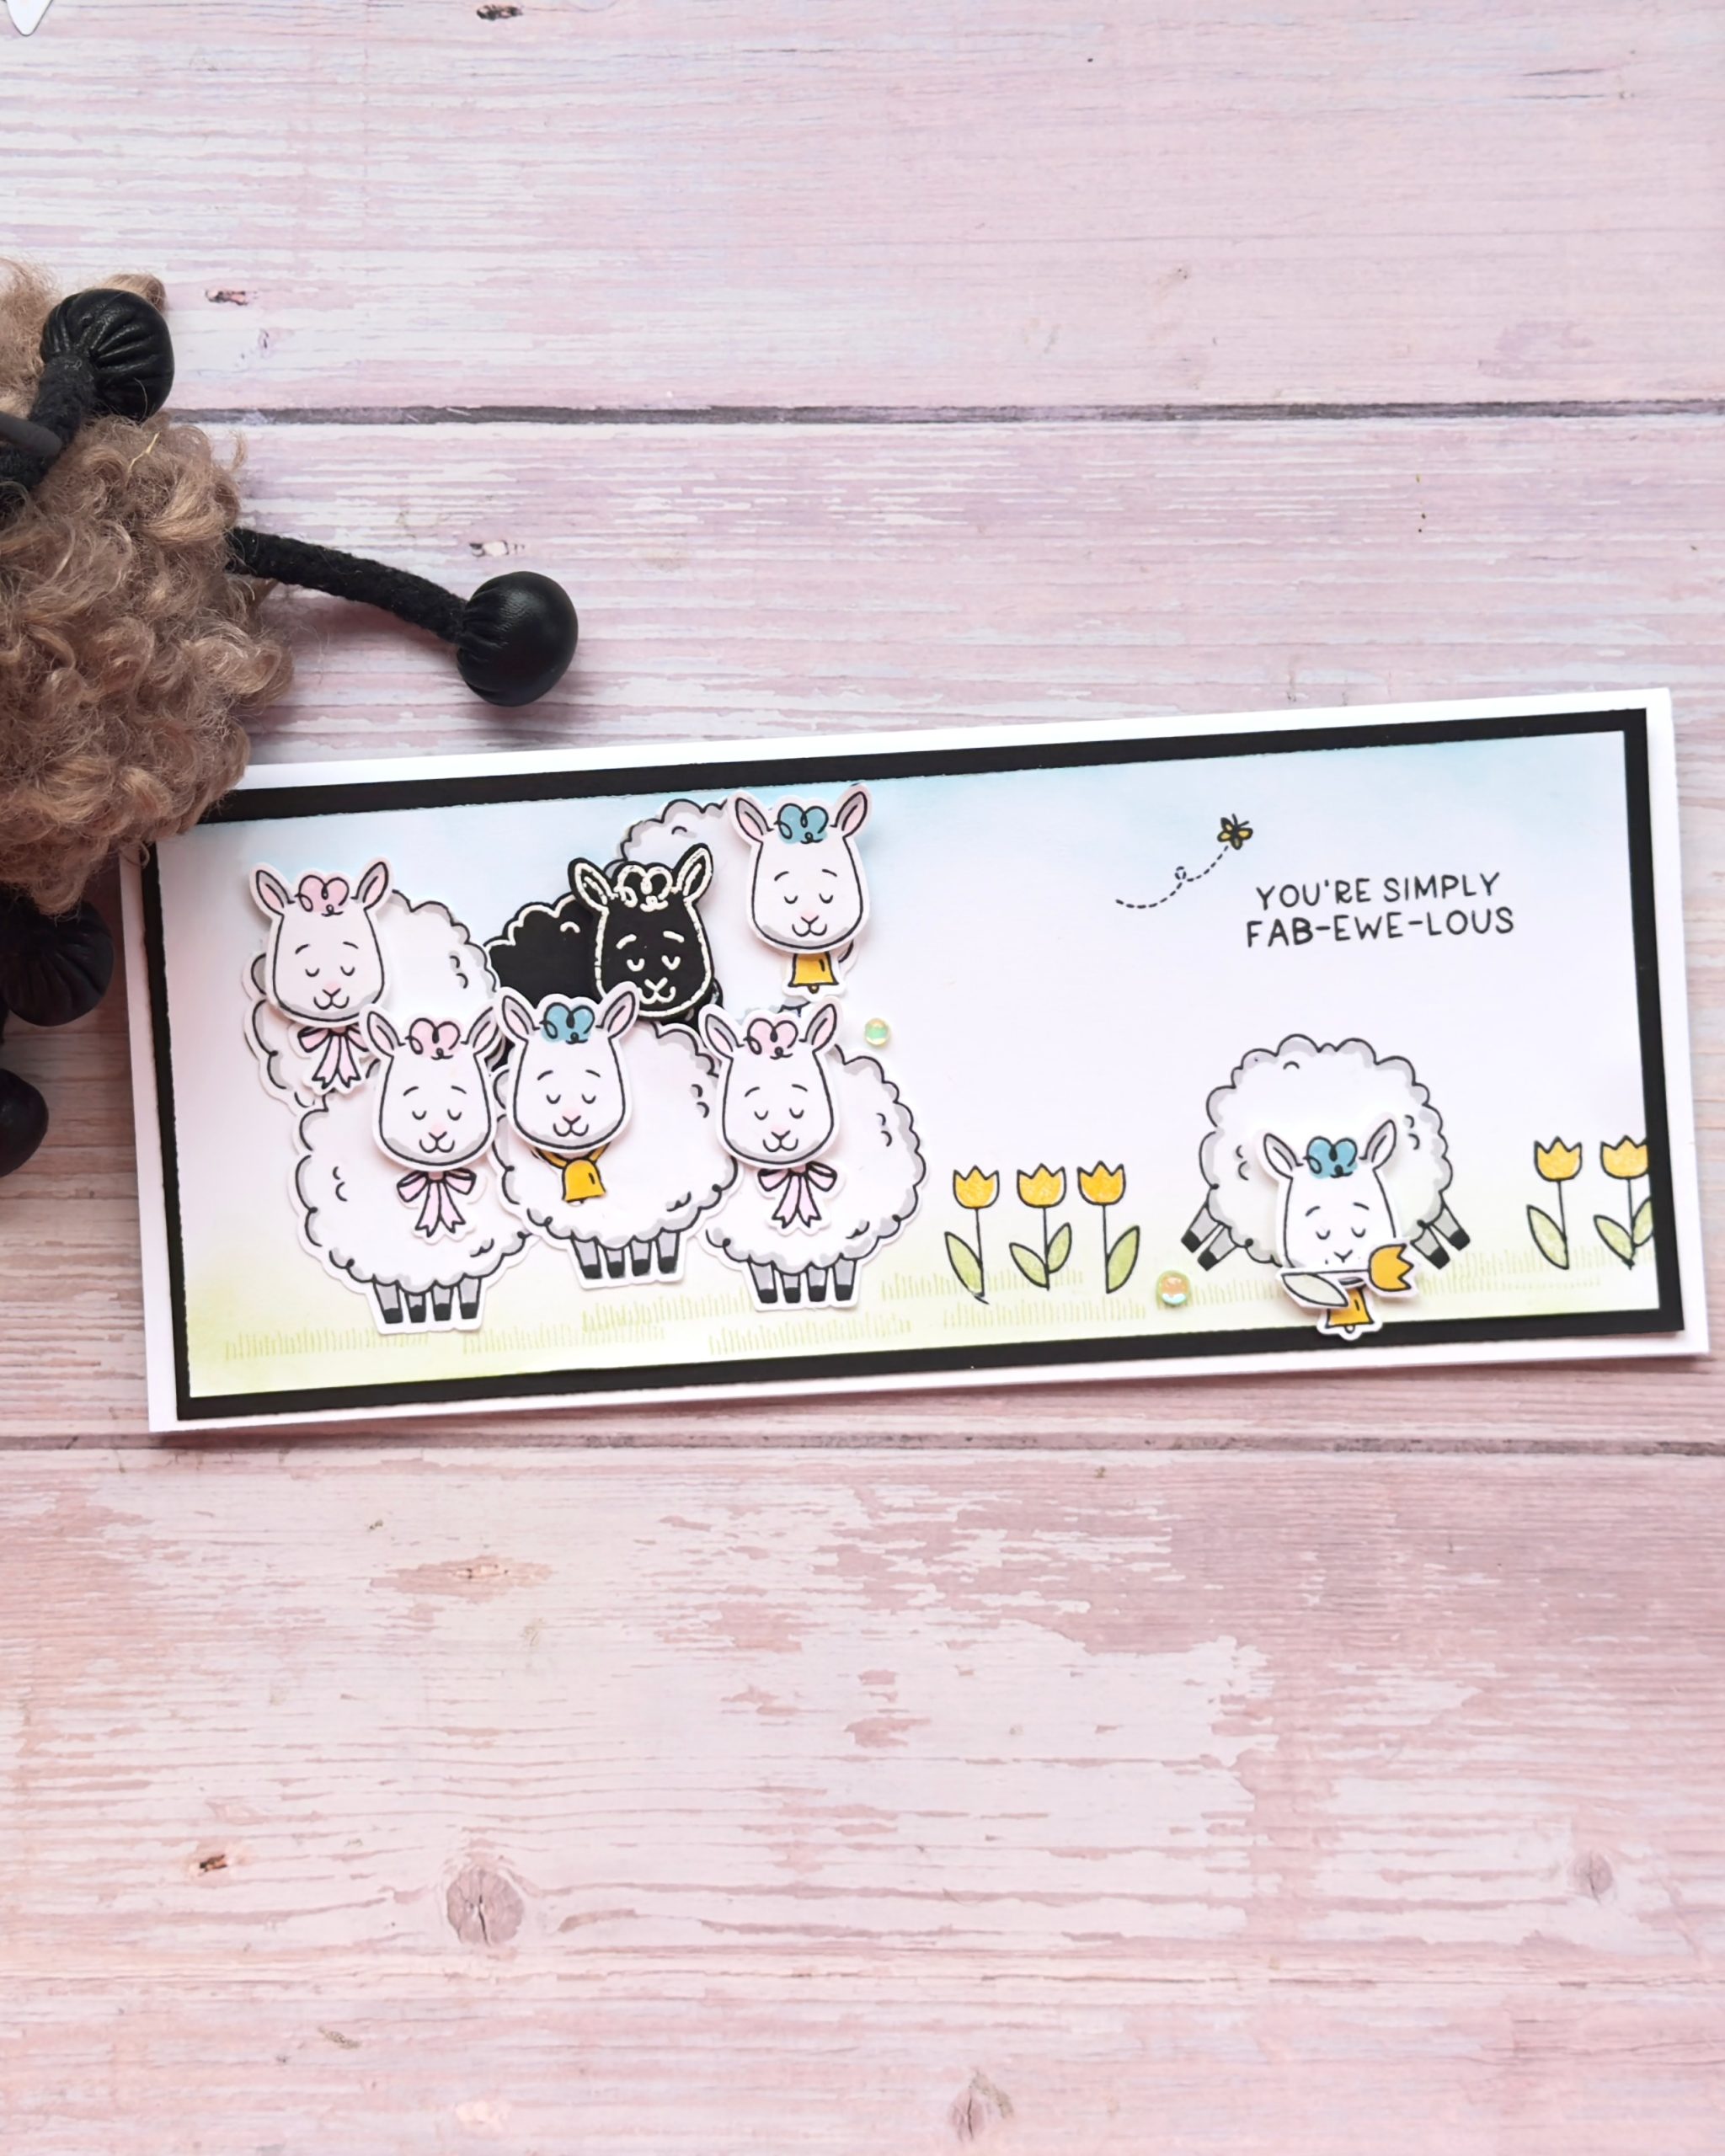
Building the Slimline Card Base
I decided to make a slimline card for this project. I love slimline cards because they give you room to tell a little story.
To create the background:
- I lightly blended Soft Sea Foam along the bottom for grass
- Added Balmy Blue at the top for a soft sky
- Used the grass stamp from the set to add texture (grass doesn’t need to be perfectly even — patchy works!)
One of the sheep has the “legs out” stamp, which adds movement and personality, and I placed the sentiment near the top to balance the design.
Bringing the Flock Together 🐑🐑🐑
Once everything was stamped and coloured, I laid out the sheep first before adhering them — I always like to play with placement before committing.
Some sheep were glued flat, while others had their heads popped up on Dimensionals for extra interest. The beauty of this set is that you can place the heads anywhere you like — it adds so much character.
I added:
- Bells to a few of the sheep
- Sweet little tulips using two-step stamping
- One cheeky sheep holding a flower in its mouth (because why not?)
All these tiny details really bring the scene to life.
Finishing Touches ✨
To finish the card:
- I layered the panel onto a Basic Black mat
- Added a matching panel inside using leftover sheep (nothing wasted!)
- Included grass and another little sheep on the inside
For embellishments, I used:
- Holographic resin dots
- A tiny stamped butterfly
And that was it — the card came together exactly how I imagined it, which is always such a good feeling!
More Ideas with Woolly Friends Card Tutorial
Of course, once I started, I couldn’t stop 😄
I also made:
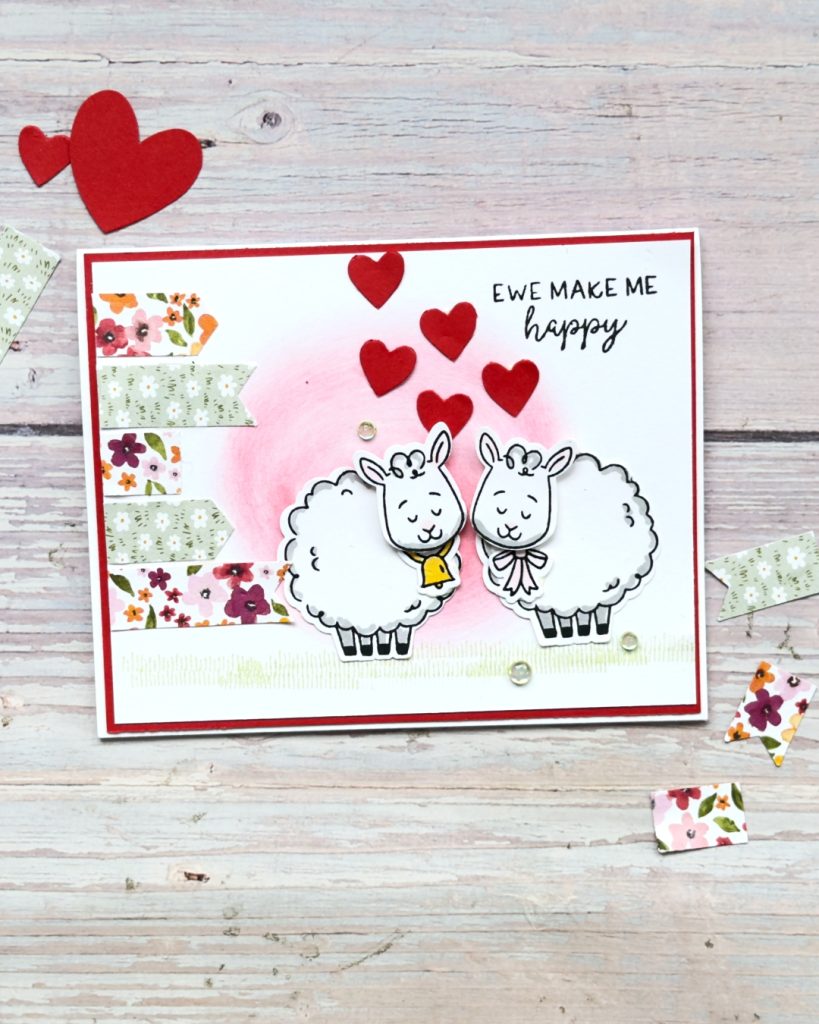
- A “You Make Me Happy” card using the Triple Banner Punch
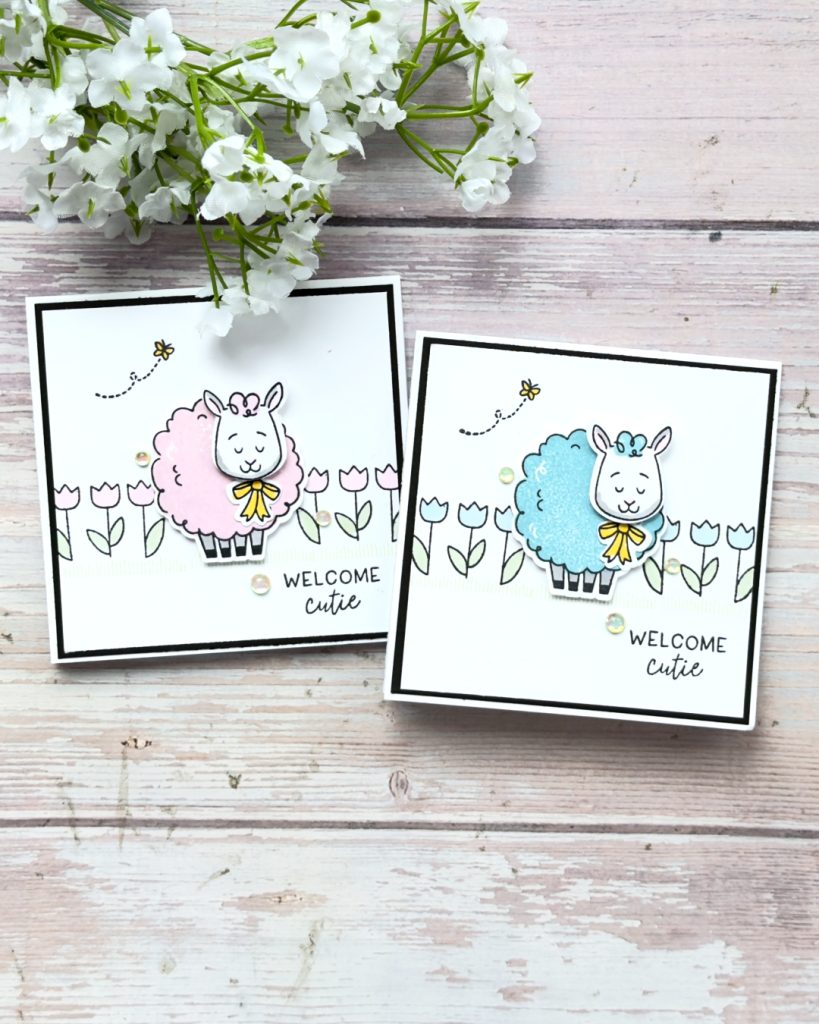
- Two Welcome Cutie mini baby cards (3½” x 3½”) — perfect for tying onto a gift
This bundle is ideal for baby cards, happy mail, and playful projects. Every time I work with it, I find myself smiling.
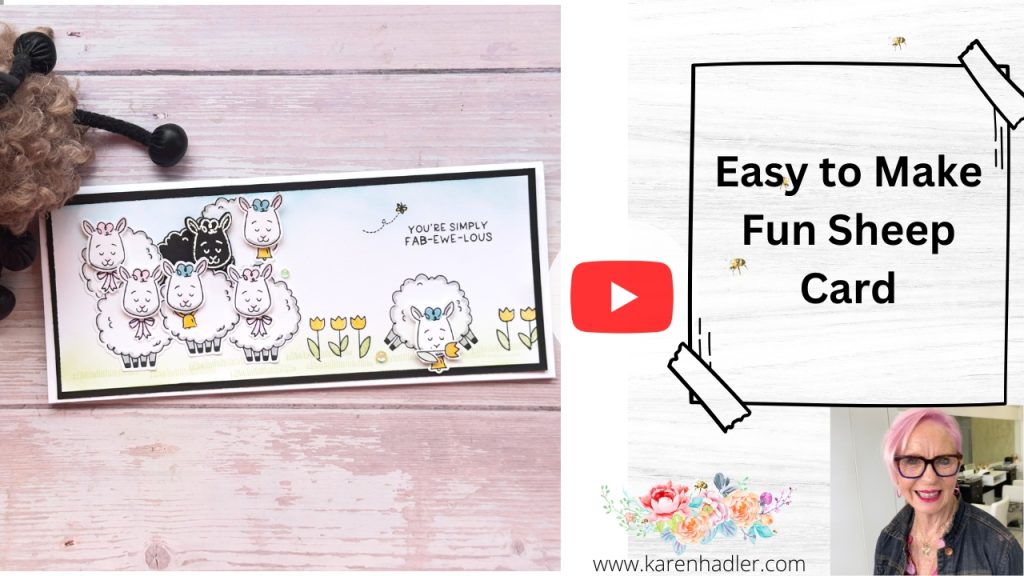
Video Sharing Woolly Friends Card Tutorial (click on photo below)
Related Posts to Woolly Friends Fun
So Glad It’s Your Birthday Counting Sheep
Thanks so much for stopping by and spending a bit of creative time with me. I hope this inspires you to take a closer look at the Woolly Friends bundle and have a play yourself.
Like to know more then please do not hesitate to contact me. For further information, about this card or any of my online classes.
Want to receive regular tips and inspiration don’t miss out and sign up to get my newsletter delivered to your inbox!
Newsletter
Live in New Zealand? if yes and would you like to purchase any of the items shown if you click on each photo it will take you to a list. For the Bundle click below to purchase.

Would like to receive 20% discount on all your purchases? Whether as a hobbyist ,personal use, sharing with friends or to start up a business this maybe just right for you!
Interested and want more information? Click on my TEAM PAGE to learn more.
Thanks so much for stopping by I hope you enjoyed this post. I would love you to leave a comment.
Happy Crafting